
What You’ll Learn
- When the header uses quick Light/Dark switching
- When the header opens the theme selection modal
- How to manage theme selection from MainWP Tools
- How OS mode detection works in Quick Setup
- Where custom theme files are stored
Prerequisites
- Access to your MainWP Dashboard admin area
- FTP or file manager access (for custom themes only)
Quick Light and Dark Switching
1
Open your Dashboard
Navigate to your MainWP Dashboard.
2
Use the header theme switcher
Use the top-right header theme button:
- Moon icon switches to Dark mode.
- Sun icon switches to Light mode.
3
Confirm the new mode
The Dashboard reloads and applies the selected mode for your user account.

- Your selected theme is
default(Light) ordefault-dark(Dark). - No custom theme files are detected in the uploads themes directory.
mainwp_quick_theme_change in the URL and saving your user preference as default or default-dark.
When the Theme Modal Appears
The header shows a palette icon and opens the Select MainWP Theme modal when quick switching is not used. Common cases:- You have one or more custom theme files.
- You are on a legacy/custom theme path.
Manage Themes from MainWP Tools
The MainWP > Settings > Tools page always includes Select MainWP Dashboard theme.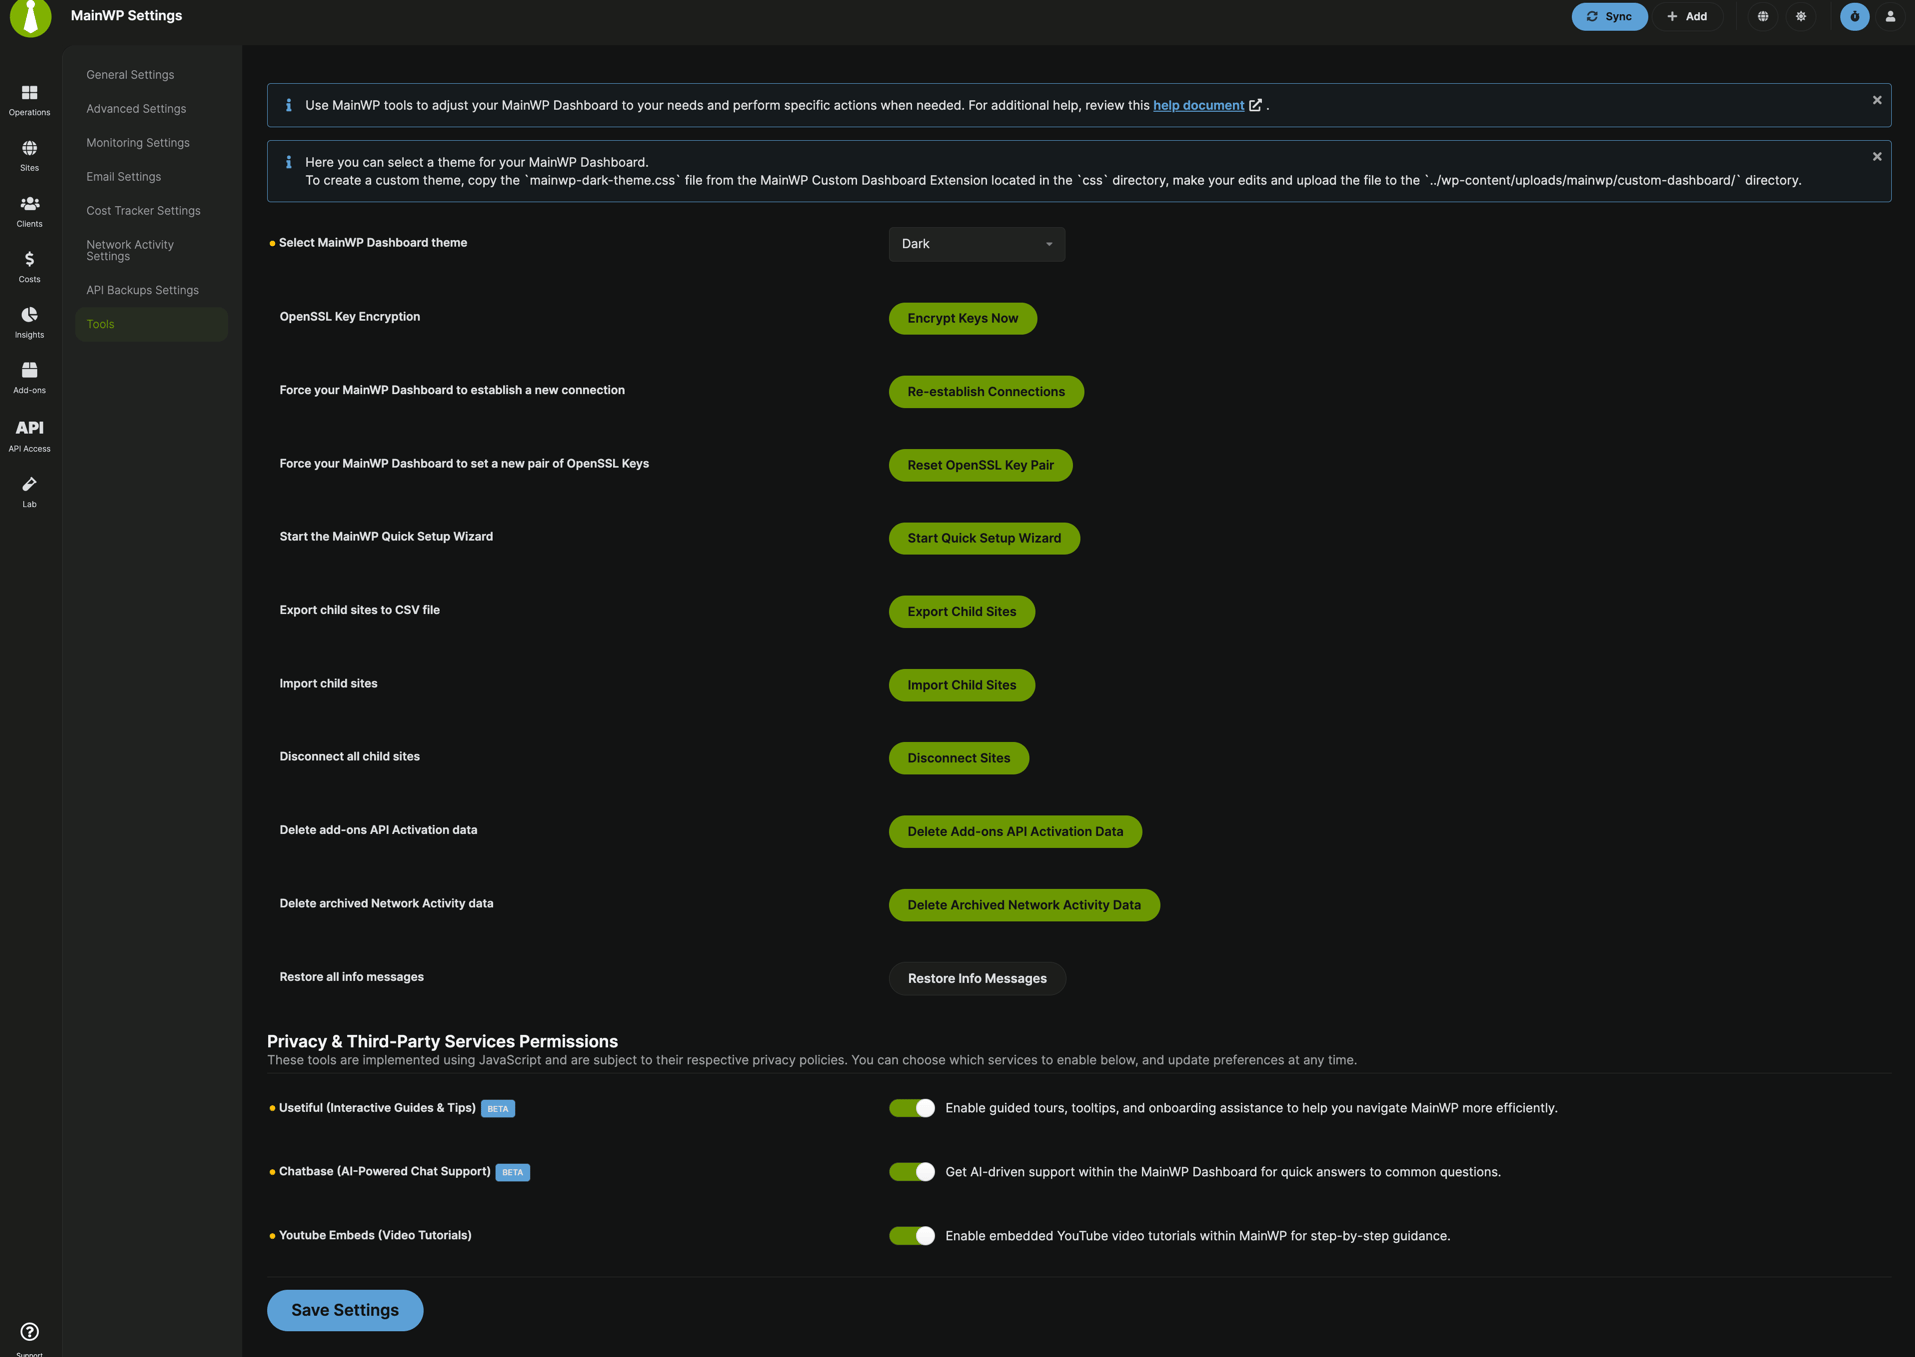
1
Go to MainWP Tools
Navigate to MainWP > Settings > Tools.
2
Open Select MainWP Dashboard theme
Use the theme dropdown in the Tools section.
3
Choose a theme
Light and Dark are always available.Legacy options appear when currently selected. Custom
.css theme files in uploads are also listed.4
Save your settings
Click Save Settings.
OS Preference Detection
MainWP does not continuously auto-sync theme mode with your operating system. During Quick Setup, MainWP can detect OS color preference and save an initial Light/Dark selection when:- Your user has no saved MainWP theme preference.
- The Quick Setup flow condition for an empty connected-sites state applies.
Custom Theme Files
You can create custom themes by modifying existing CSS files and uploading them to your Dashboard site.1
Download the MainWP Dashboard plugin
Download the MainWP Dashboard plugin from the WordPress.org repository.
2
Extract the plugin files
Unzip the plugin files to your computer.
3
Find the default themes
Navigate to
/mainwp/assets/css/themes directory to find the built-in theme CSS files.4
Copy and customize a theme
Copy one of the CSS files and open it in your preferred code editor. Make your customizations.
5
Rename your theme file
Save the file with a new descriptive name (e.g.,
my-agency-theme.css).6
Upload to your Dashboard
Upload the CSS file to
/wp-content/uploads/mainwp/themes/ on your Dashboard site using FTP or your hosting file manager.7
Select your custom theme
Your custom theme appears in the theme selector in MainWP > Settings > Tools and in the theme modal path.
Theme File Locations
If an older
custom-dashboard folder exists, MainWP migrates it to the themes folder path used now.Custom themes in the uploads directory persist through plugin updates. Built-in themes may be overwritten during updates.Legacy Theme Compatibility
- Legacy theme options remain supported for users already on those themes.
- If legacy/custom conditions are detected, the header uses the palette button (modal path) instead of direct Light/Dark toggle.
- For the default experience, use Light or Dark themes.
Self-Check Checklist
- This page is used for MainWP Dashboard appearance, not Child Site themes
- Header shows moon/sun quick switcher when using default Light/Dark with no custom theme files
- Header shows palette button and modal path for legacy/custom scenarios
- MainWP Tools includes Select MainWP Dashboard theme
- Theme preference persists for your user after reload
Related Resources
- Change Sidebar Position - Adjust sidebar location
- Customize Dashboard Logo - Brand your Dashboard
- Widget Column Layout - Adjust widget arrangement
- Manage Themes - Manage Child Site WordPress themes